
Projects I Have Done in Quarantine
After a much-needed break, I am back with a fun post (well, at least in my opinion): a list of projects that I have done while in quarantine! While I recently wrote a similar post that gave an honest, high-level, realistic account of what quarantine has looked like for me, this one will be productivity-focused and will list specific projects that I have started (and more-or-less completed) in my newfound spare time. If you are into organization, cleaning, and memory-keeping, this one’s for you!
Organize Pantry
I had actually tidied and decluttered our pantry at the beginning of quarantine, but a couple weeks ago, we ended up doing a(n unexpected,) complete overhaul because we found a leak in our pantry that required some pretty large repairs. It also required us to move everything (EVERYTHING) out of the pantry while repairs were underway. While it was not particularly enjoyable to live with the contents of our pantry strewn about our dining table and living room, this was (kind of, sort of) a blessing in disguise. We realized that since our pantry was completely empty, we had the opportunity to reorganize everything as we put it back together.
We ended up expanding the organization system that we had already partially implemented in the pantry giving the whole room a uniform look. Everything on the shelves is now sorted and categorized in labeled bins, making everything aesthetically pleasing and easy to find. Is it sad that the pantry is now one of my favorite rooms in the house??
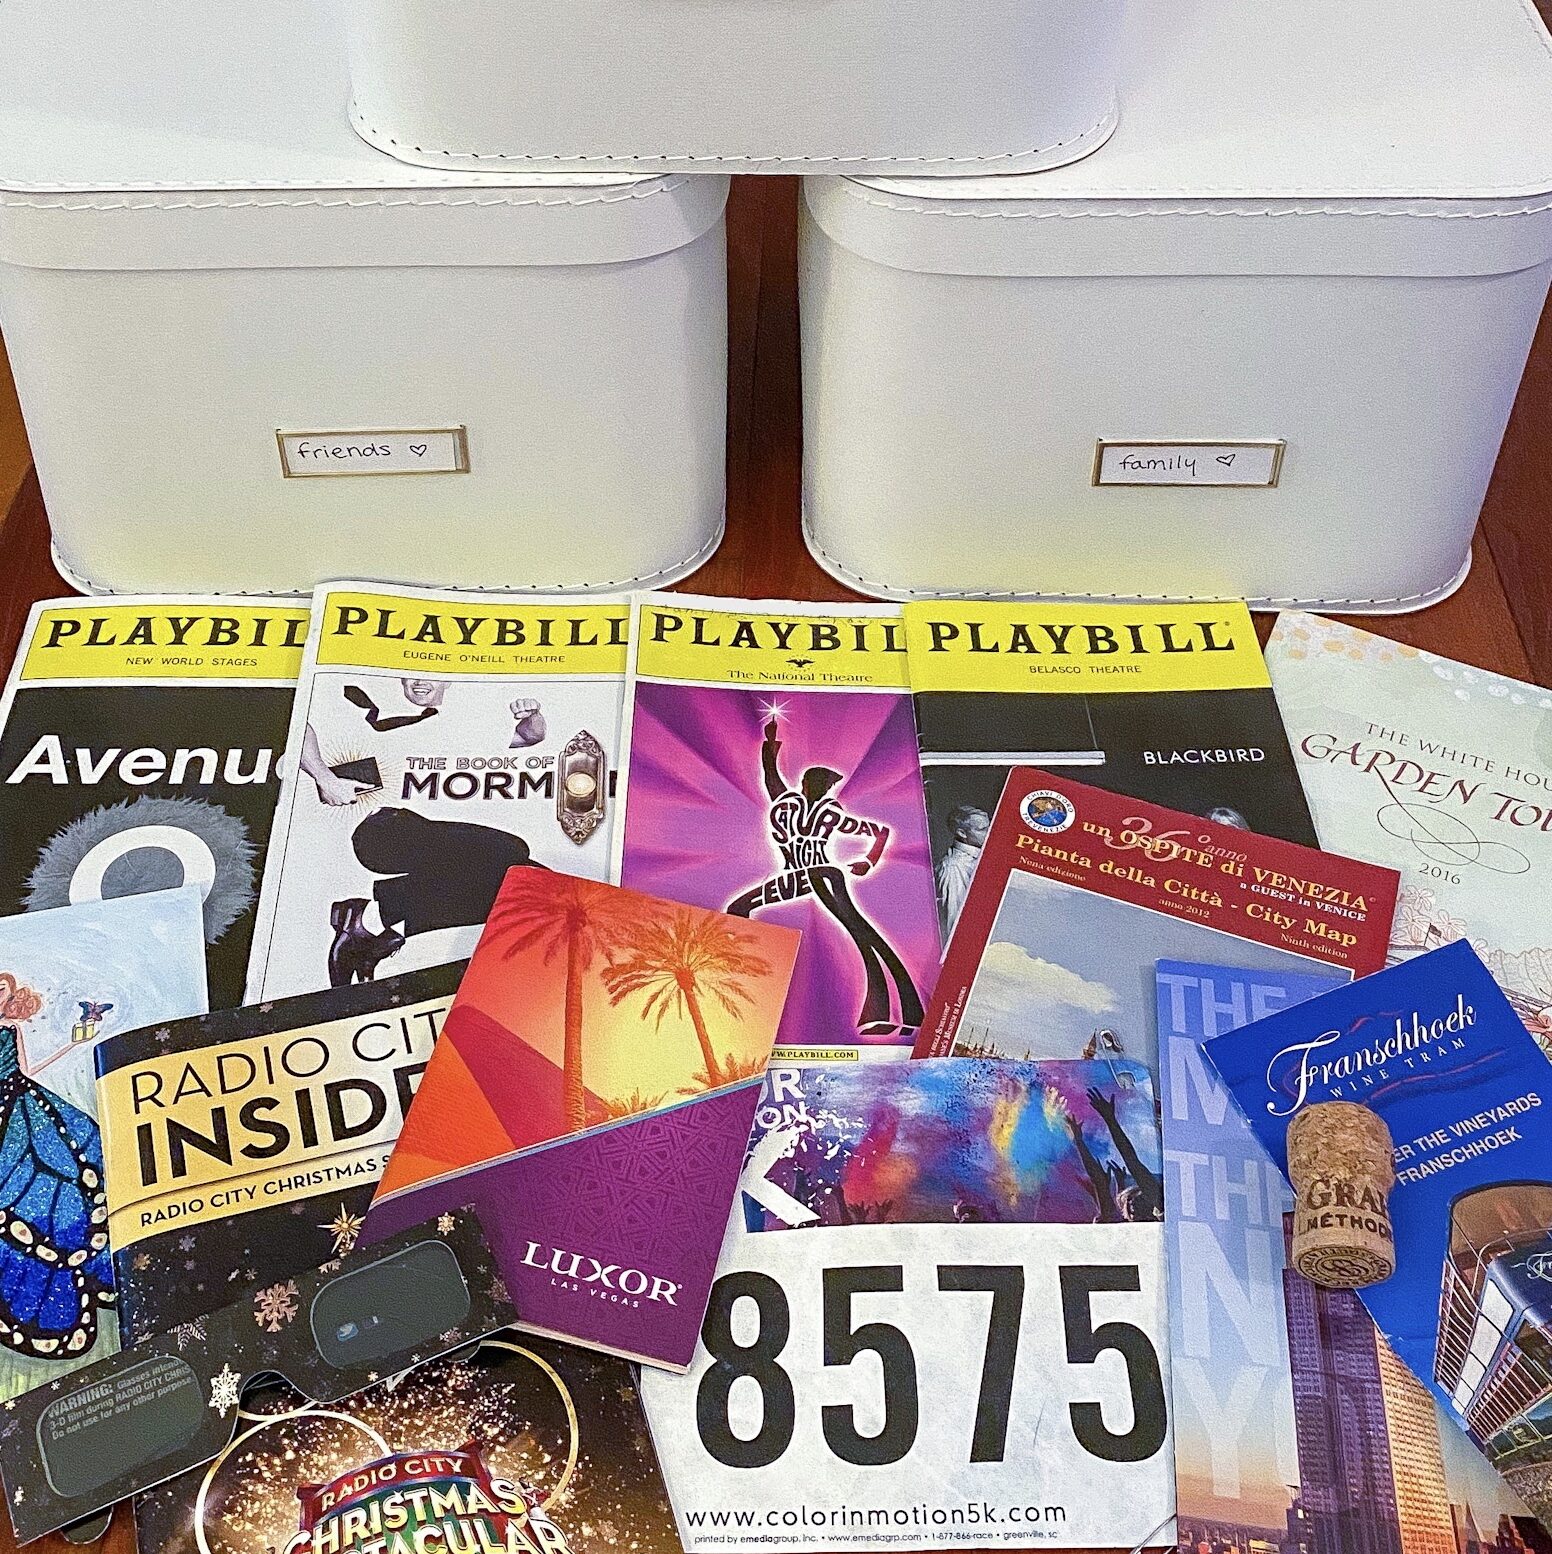
Organize Memory Boxes
I won’t dwell on this one too much because I kind of already wrote an entire post about my memory boxes, but essentially, I went through all my boxes, re-labeled them, and organized their contents into subcategories to make things easier to save and look through.
Clean Out Files
One of my goals in quarantine was to digitize as many files as I could. I figured that digitizing everything would not only help me declutter all of the paper I have accumulated over the years, but it would also help keep me more organized (and we know I love an excuse to be even more organized). This project required a lot of digital storage and a scanner that was up to the task. I divided my papers into separate PDF files that I then scanned and organized into clearly labeled, easy to find, digital folders. This is still a work in progress, but I have already made a pretty decent dent!
Organize Digital Files and Photos
Before putting new files on my hard drives, I wanted to make sure that everything that had previously been stored on them was organized (are we sensing a theme here?). (This is what inspired the “How to Digitally Organize Years of Photos” post.) This was a long, tedious process, but I can’t tell you how much better I feel knowing that I can locate any and (almost!) all of my files and photos from anywhere in just a matter of clicks!
Create Yearly Photo Books
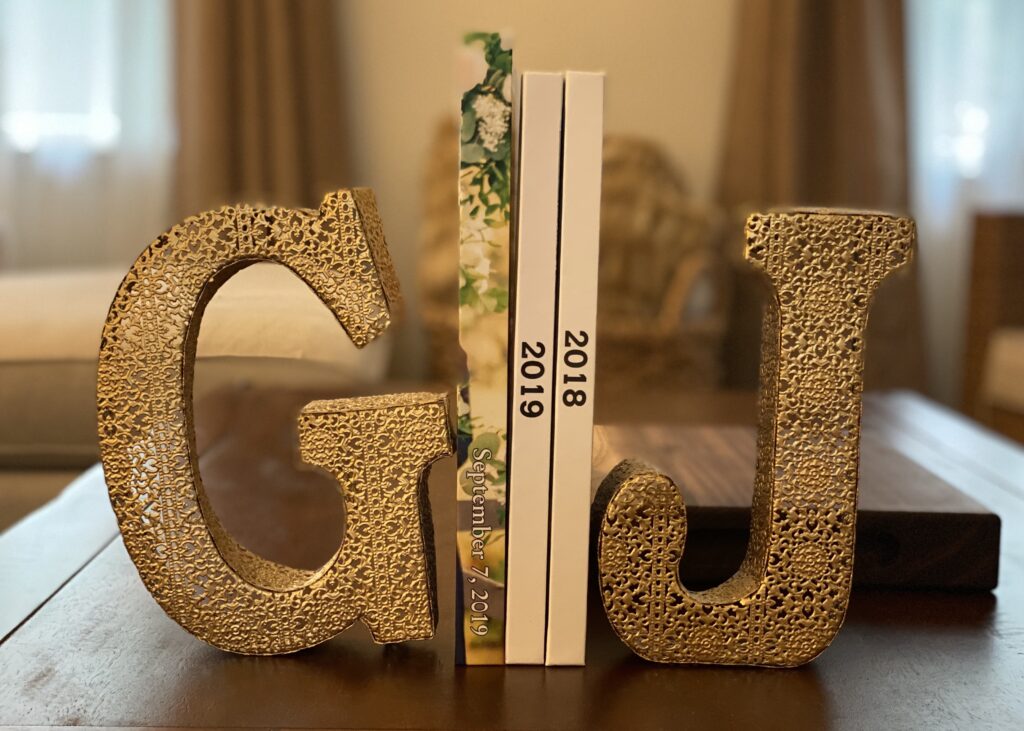
This is another work in progress that is actually very close to being done. One thing I really wanted to do was to create yearly photo books (and also a wedding photo book!) of the most important/special photos that we have taken over the years. Now that photo taking and photo storage has gone digital, we don’t print photos or keep photo albums like my grandparents and parents used to. I thought creating a printed book with our favorite photos and memories (organized neatly by year) would be a great way to actually look back on photos that we wouldn’t necessarily see unless we were searching for them.
I decided to not only make our wedding photo album (finally!) but to also start our photo book collection starting with pictures from 2017. While I obviously have photos that go back much farther than 2017, J and I decided that 2017 was a good place for our collection to start. My goal was to finish books 2017 through 2019 just in time to create a 2020 book at the start of 2021. That way, I would be right on track to make one book each year moving forward. Currently, I am almost finished with the last book and have already started organizing all my 2020 photos for the next one. I am hoping to do a more in-depth post on this in the future, sharing my process and where I get my books printed, but for now, here is what our little collection looks like.
Create Yearly Memory Books
I know, I know, all this memory keeping probably seems excessive . . . but to me, it’s not. This is my hobby, and I have so much fun documenting things that I have no problem being a little bit excessive in this area of my life if it means having a hobby that I love.
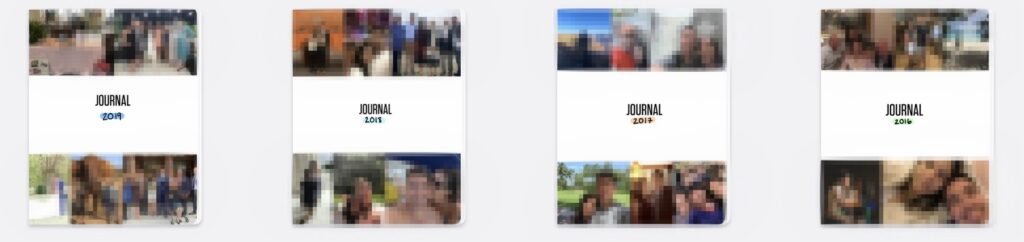
My memory books are basically journals of my life. They are organized files of all my day-to-day photos, calendars (if you didn’t already know, I put a lot of important information on my calendar), and journal entries sorted by year. My journal entries are largely taken from my Day One app (more about that obsession here), but they also include detailed, longer-form entries for very special events (like our wedding!), so that I never forget a single detail. The photos I keep here are whatever pictures I saved to my Day One app when I journal each day. They generally reflect my day-to-day life and are typically more candid, less posed photos that, unless printed in a photobook, would otherwise just sit and collect digital dust. As of right now, I keep these “books” saved as digital files (backed up, of course!) because, while I considered printing them out into bound books, I know worry that they will be way too thick (an incredibly unique problem to have haha!). If anyone is interested, I’d be more than happy to write a separate blog post all about how to make one of these (I can’t be the only one out there with this kind of hobby . . . right?).
I love being able to create photo books and journals that my family and I (and hopefully, future generations of my family) can look back on. I know that my parents and grandmother love reminiscing while looking at old photos, so I firmly believe that future Giulia will be very thankful that I kept up with this hobby.
This is generally what the covers of my finished memory books look like (the photos are blurred for privacy purposes).
Create an Emergency Bag
2020 taught me that truly anything can happen at any time. I used this wakeup call to motivate myself to make an emergency bag, a.k.a. a bag of things to grab in case of an emergency. (J still thinks I’m crazy for doing this, but hey, better safe than sorry, in my opinion.)
I am definitely not an expert at emergency kit preparation, but from the limited research I’ve done, I know that items that go into one’s emergency bag/kit really depend on one’s location, what one might need to prepare for, and how many people are in one’s family. I basically just took my best guess, gathered what I already had around the house, bought a couple of extra items from Amazon, put everything in a bag, and called it a day. It really wasn’t that hard or time-consuming and it’s also something that you can update and add to over time. I’m also happy to go more in-depth about the things that I included in my bag if anyone would find that helpful or interesting, but in the meantime, here are some resources that not only explain why having an emergency kit is a good idea but also provide a great starting point if you are looking to make an emergency bag too.
Caulk Bathroom
Ok. I can’t actually take credit for this project. I can take credit for having the idea and for starting the project, but J gets all the credit for actually finishing it when I couldn’t and when I really didn’t give him another choice (my poor husband). Here’s what happened.
I knew from the start of quarantine that I wanted to re-caulk our bathroom. It was one of those “luxury” projects that I secretly knew I would never actually make time to do. When quarantine started, I felt like I could no longer make excuses. So, I went online, I read some instructional articles and blog posts, I bought all the supplies on Amazon, and as soon as they arrived in the mail, I was ready to go. Something important to note: I read an article that said I didn’t need a caulking gun to do this (if you want my inexperienced two cents, you absolutely do need a caulking gun), so I didn’t get one. Bad move. When all my other tools arrived in the mail, I got straight to work. It was only after I stripped away all the old caulking that I realized that I had made a huge mistake by not buying a caulking gun. J then had to come to the rescue with his elbow grease to get me out of the bad situation I had found myself in.
On the bright side, we ended up with a fabulously caulked bathroom! 😇
Wash Makeup Brushes
This is a silly one. It was also the project that took the least amount of time, and to be honest, probably isn’t worth mentioning, but I can’t be the only one that doesn’t wash my makeup brushes as often as I should. This was another one of those things that I felt I couldn’t make excuses for anymore. Now, I just need to convince myself that I really should wash my brushes more than once before quarantine ends . . .
That’s is (for now)! If you were looking for some motivation to get your pending projects done, I hope that this gives you the push that you need to get started.
Stay safe and happy quarantining!
Giulia ♥


